
DIY Vertical Gardens: Step-by-Step Guide
Share
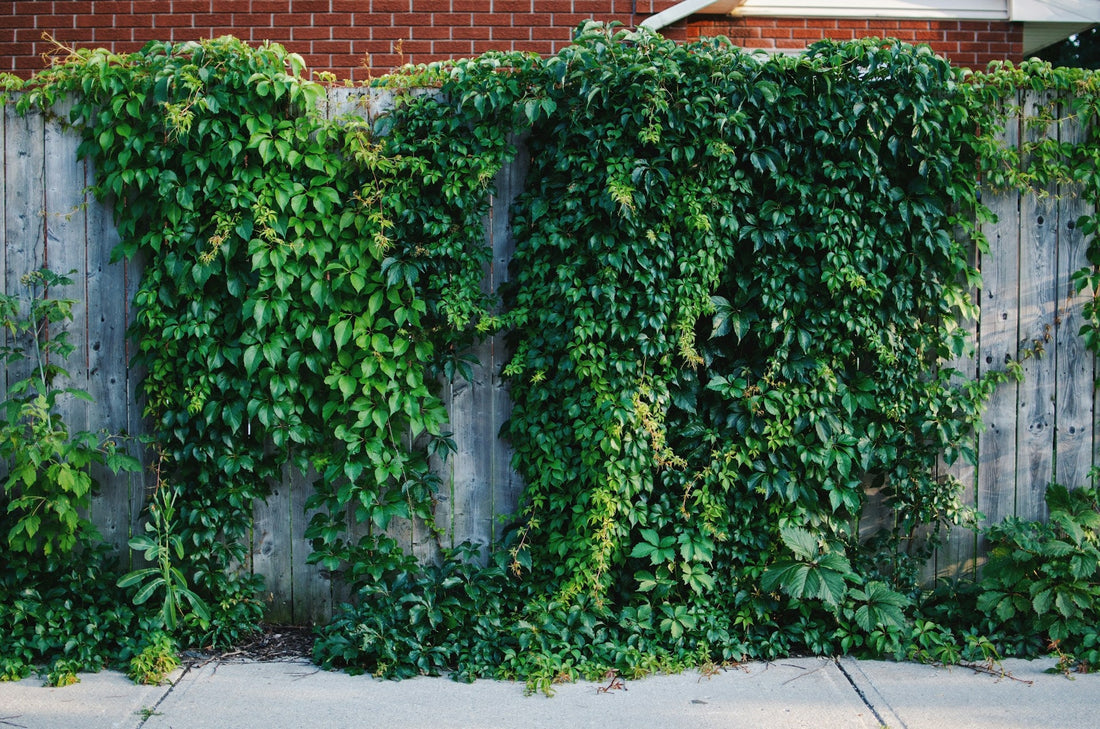
Transform Your Walls into Lush Green Spaces
Vertical gardens are a brilliant way to bring greenery into small apartments, patios, or even office spaces. They not only save floor space but also create a visually stunning focal point, improve air quality, and boost your mood. Whether you’re a seasoned gardener or a beginner, building your own vertical garden can be an enjoyable and rewarding project.
🌿 Why Choose a Vertical Garden?
-
Space-Saving: Ideal for small living spaces, balconies, or compact patios.
-
Aesthetic Appeal: Adds a dynamic, eye-catching element to your walls.
-
Health Benefits: Indoor plants reduce stress, improve air quality, and enhance productivity.
-
Versatility: Works with herbs, flowers, succulents, and even small vegetables.
Vertical gardens transform blank walls into thriving green oases, proving that you don’t need a large yard to enjoy gardening.
🛠 Materials You’ll Need
Before you start, gather the following materials:
-
Wall-Mountable Planters or Pocket Planter Fabric
-
Potting Soil suitable for indoor or outdoor plants
-
Plants of Your Choice (herbs, ferns, succulents, or flowering plants)
-
Watering Can or Spray Bottle
-
Basic Tools: Drill, screws, level, and measuring tape
Optional items include fertilizer, decorative moss, and drip trays for easier maintenance.
📝 Step-by-Step Instructions
Step 1: Select Your Wall
Choose a wall that receives adequate light for your selected plants. For indoor gardens, south- or east-facing walls are ideal. Ensure the wall can support the weight of the planters.
Step 2: Choose Your Planter System
Options include:
-
Pocket Planters: Fabric pockets sewn together for multiple plants.
-
Modular Planters: Stackable or interlocking units for easy arrangement.
-
DIY Shelves: Wooden or metal shelves mounted on the wall for pots.
Select the system that best fits your space, style, and plant types.
Step 3: Prepare Your Plants
Select plants according to light and watering requirements. Arrange them in the planters while keeping taller or trailing plants at the top for a cascading effect.
Step 4: Mount the Planters
Use a level and drill to securely attach planters to the wall. If using fabric pocket planters, ensure even spacing and strong support to prevent sagging.
Step 5: Fill and Plant
Add soil, making sure it’s firmly packed. Insert plants carefully, ensuring roots are covered. Water lightly after planting.
Step 6: Maintain Your Vertical Garden
-
Watering: Check soil moisture regularly. Self-watering planters can reduce effort.
-
Pruning: Trim overgrown plants to maintain shape and encourage growth.
-
Fertilizing: Use liquid fertilizer or slow-release granules based on plant needs.
-
Rotate Plants: Ensure all plants receive sufficient light by occasionally rotating trays or pockets.
🌱 Creative Ideas for Your Vertical Garden
-
Herb Wall: Create a functional kitchen garden with basil, thyme, mint, and parsley.
-
Succulent Display: Mix textures and colors for a low-maintenance, eye-catching wall.
-
Flower Wall: Seasonal blooms can create a vibrant and fragrant vertical garden.
-
Edible Vertical Garden: Grow small vegetables like cherry tomatoes or peppers in modular planters.
Personalize your vertical garden to fit your lifestyle, décor, and taste.
✅ Benefits of DIY Vertical Gardens
-
Maximizes Small Spaces: Ideal for apartments or urban living.
-
Customizable: Plant selection, layout, and style are completely up to you.
-
Therapeutic: Gardening reduces stress, improves mood, and connects you to nature.
-
Sustainable: Grow your own herbs and vegetables, reducing the need for store-bought produce.
With creativity, care, and proper planning, your DIY vertical garden can become a thriving, beautiful feature in your home.